
EXOS Season 1
“Path to Power”

EXOS SPAWN
You’ve awoken for the first time, tired, beaten and downtrodden in the Refuge. Take heed of the signs before you and check your back. There lies the ‘Cloak and Stagger Inn’… where you should begin your journies.

Here you’ll be introduced to Cyril and Writ, tavern owners. Speak with Cyril to learn about portals and return to complete your first quest. Upon completion you’ll be teleported to a tutorial zone. To learn the ins and outs of basic life in EXOS.
Follow the gates and get a basic understanding. Use the portal and look for the icon that says REFUGE, click to return home.

Leveling and Classes.
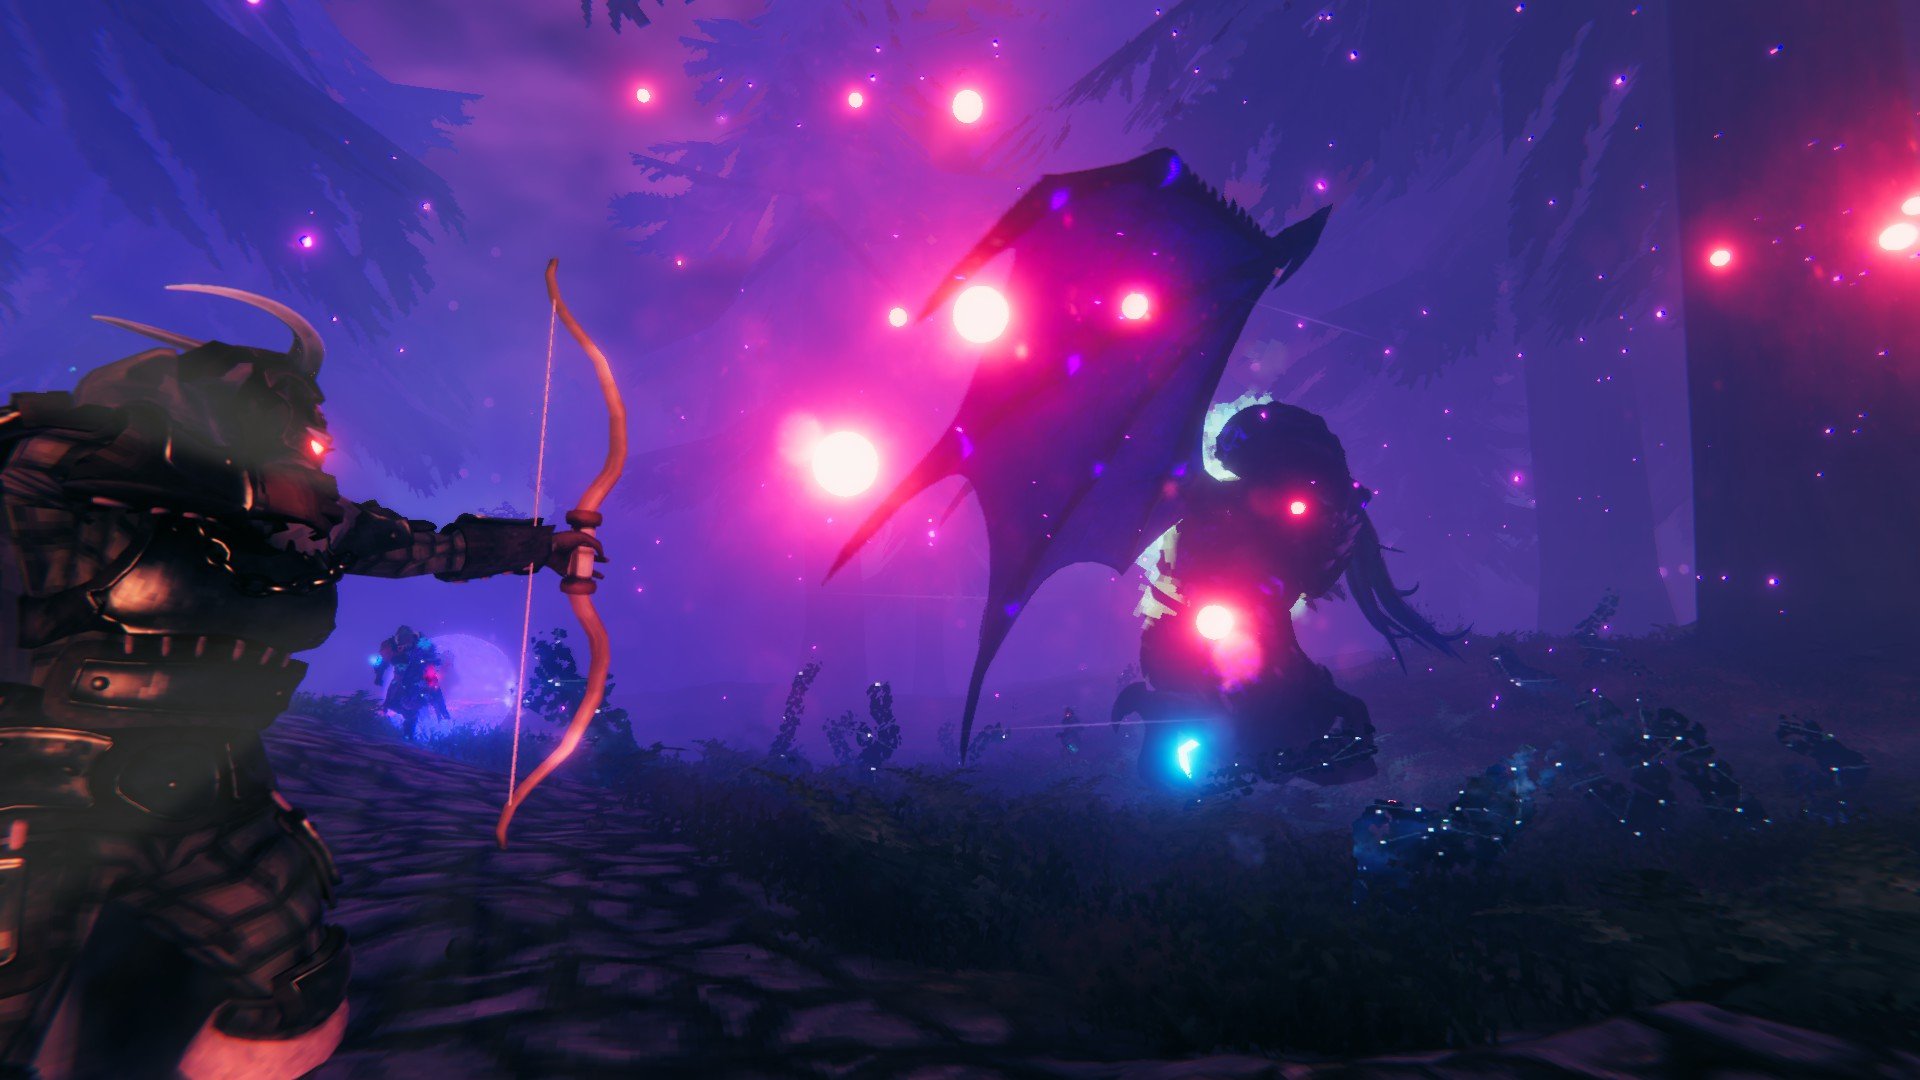
Player level influences stats, strength, agility, intellect, endurance. Weapons and Armor will require different stats, depending on the types. you can access these at any time by hitting tab and touching the helmet icon at the center bottom of the screen, along with quests and a friends list for quick access to partying up. Enemies also have levels, if their name is in red, you’ve gone too far and they’ll be too difficult. Come back and engage when you’re stronger. Death can be swift in EXOS if you come unprepared.


To choose your first class, speak to Lorekeeper Nyx for hints on what to bring to the sacrificial alter to gain your class. Isaac will trade you items to quickly gain access to the items required, or find them out in the wilderness. Osiris, will be your quest guide to finding out more about classes and gaining access to more advanced classes. There are 156 class combinations in total! Try them to build your unique abilities to conquer the wilds of EXOS!

Season 1 Multiclassing System
Season 1’s “Path to Power” brings on new multiclassing system. The previous 13 (or 14 if you can unlock the Engineer) classes still exist with some modifications for balancing. These are now referred to as the Ascendancy Classes which are available around level 10 by speaking to Osiris. From the moment you spawn into EXOS you can choose a ‘Base Class’ which can be changed with tokens. This will provide you your first 3 abilities (alt 1 through 3). When you multiclass and ‘ascend’, the ascendancy class abilities stack with your base class and give you a total of 7 combined skills. These classes can also be changed via tokens.
NOTE: Part of the lore for the base classes is they are ‘unstable’. If you die after you have selected a base class, you will have to re-sacrifice the appropriate item to acquire the base class abilities once more. If this is not something you would like to happen and prefer to keep your base class, simply select one and then exit game entirely. This will permanently save your base class so when you die, your abilities will still work after you respawn.
Base Class Abilities
Hold alt and press 1, 2, or 3.
Valkyrie
Sacrificial Item: Flint
1. Bulwark - Buff: adds a set block bonus to all blocked attacks and adds damage mitigation to the caster
2. Stagger - Attack: immediately staggers all enemies around the Valkyrie
3. Leap - Attack: Launch into the air and come crashing down, applying splash damage at the point of impact
3.a. Frozen Fury - Release all valkyrie charges to create a wave of ice by holding block and using the 'leap' ability; must be using a shield
Extra: gain valkyrie charges each time an attack is blocked with a shield
Hold block and press the 'attack' button to throw an icy spear; must have valkyrie charges
Ranger
Sacrificial Item: Raw Meat
1. Shadow Stalk - Buff: greatly reduces noise and visibility of the Ranger, improves movement speed while crouched, and grants a short (5s) burst of speed
2. Summon Wolf - Pet: summons a wolf companion for a limited time that is more durable, but less damaging than normal wolf pets
3. Power shot - Buff: the next several ranged attacks gain velocity and attack power
Extra: passive skill that reduces stamina used while running by 25%
Passive skill that reduces poison damage by 25%
Rapid Reply - can fire an arrow as if the bow was 90% drawn for 3s after performing a dodge roll
Berserker
Sacrificial item: Bone Fragments
1. Rage - Buff: sacrifice health periodically to gain increased movement speed, physical attack damage, continuous stamina regen, and a life-tap for a portion of damage dealt.
2. Execute - Buff: the next several melee attacks gain increased attack power
3. Dash - Attack: dash forward and strike enemies as you pass; damage based on the weapon currently equipped
Extra: 30% reduction in stamina use when swinging 2h weapons
Gains a 4% bonus to damage for every 10% of missing health
Mage
Sacrificial Item: Coal
1. Fireball - Attack: launch a ball of fire that deals splash damage and applies burning
1.a. Ice Shard - Alternate attack: throw a short range shard of ice that deals piercing damage and slows enemies by holding "block" and using the Fireball ability
2. Frost Nova - Attack: create a burst of ice around the caster that damages and freezes enemies;
2.a. Inferno - Alternate attack: create a burst of fire around the caster by holding "block" and using the Frost Nova ability
3. Meteor - Channeled Attack: use this ability to call down meteors to strike an area; channel duration (stamina expended) determines how many meteors are created
Druid
Sacrificial item: Dandelion
1. Regeneration - Heal: causes the caster and all nearby players to quickly regenerate health for a short period of time
2. Root Defender - Summon: grows friendly roots and creatures to defend the druid
3. Vines - Channeled Attack: periodically launches piercing vine projectiles
Bonus: druids may consume various seeds to gain a burst of vitality (use from hotbar or inventory)
Shaman
Sacrificial Item: Greydwarf Eye
1. Enrage - Buff: increases movement speed and rapidly regenerate stamina for the caster and all nearby allies
2. Shell - Buff: reduces any elemental (poison, fire, ice, etc) damage taken and applies a spirit damage DoT to any attack made by the caster and all allies
3. Spirit Shock - Attack: deals spirit damage in an area around the caster and applies a spirit DoT to any enemy hit
Extra: hold the 'jump' key while above water to glide across the surface
Gains 25 stamina any time a nearby creature dies
Duelist
Sacrificial Item: Thistle
1. Riposte - Counter: parry and counter in one smooth maneuver
2. Seismic Slash - Attack: a sweeping technique that releases a razor thin blade of energy
3. Hip Shot - Attack: quickly fire a projectile from a concealed weapon
Extra: gains a large bonus to block and parry values when wielding only a weapon
Reduce the cooldown on hip shot and Slash when parrying an attack
Enchanter
Sacrificial Item: Resin
1. Biome Buff - Augment: grants a unique boon depending on the biome; energy from this buff may be released as an electric burst
2. Weaken - Debuff: slows and weakens all enemies in a target area
3. Charm - Debuff: turns an enemy into an ally for a short period
Extra: gain an 'elemental touch' which has a 30% chance to apply bonus elemental (fire, lighting, frost) damage when landing an attack
Any elemental damage blocked by the enchanter is absorbed as stamina
Metavoker
Sacrificial Item: Raspberry
1. Light - Buff: create a ball of light that follows the caster; can be launched as a projectile to stagger and bock enemies
2. Replica - Illusion: create replica's of all nearby enemies; replica's have a short lifespan and low HP
3. Warp - Movement: warp forward a short distance; can be charged to increase the travel distance and produce a powerful detonation at the exit point
Extra: safe fall - press and hold "jump" to slow your descent and avoid fall damage
Force Wave - hold block and press 'attack' to create a burst of energy that knocks enemies back, shares a cooldown with Replica
Monk
Sacrificial Item: Wood
1. Psi Strike - Attack: an unarmed attack so powerful it creates a shock wave; requires chi
1.a. Meteor Slam - while airborne, use Psi Strike to slam the ground for a powerful AoE attack
2. Flying Kick - Attack: leap forward in a spinning kick
3. Psi Bolt - Attack: throw a bolt of condense energy; consumes all charges of chi but scales with # of charges
3.a. Chi Surge - while holding block, use Psi bolt to consume all chi charges but gain a physical buff
Extra: generate 'Chi' charges by landing unarmed attacks
Gains a 25% bonus to unarmed damage
Gains a bonus to block while unarmed
May fall from increased heights without taking damage
Priest
Sacrificial Item: Stone
1. Heal - Heal: a powerful heal that can be channeled to produce increasingly effective waves of healing
2. Sanctify - Attack: calls a might hammer to fall from the sky, crushing everything in a fiery impact
3. Purge - Attack/Heal: emits a burst of energy that heals allies and burns enemies
Extra: when taking lethal damage, the priest will reduce HP to 1 instead of dying - can occur once every 10m
Rogue
Sacrificial Item: Honey
1. Backstab - Attack: rapidly move behind an enemy and deliver a critical hit
2. Fade - Movement: set a fade point and reactivate the ability to instantly move to the fade
3. Poison Bomb - Attack: throw a container of acid that poisons anything it touches
Extra: hold 'block' and press 'attack' to quickly throw a knife - this consumes stamina and requires a rogue charge
Double jump - press jump and then quickly press jump again (while still ascending) to jump a second time - requires a rogue charge
Gains a passive bonus to move speed while crouched
Enchanting
Enchantment is several parts, socketing equipment, up to 5 sockets which you would fill with the other parts, gems, which can be found in the wild or as drops from the denizens of EXOS, or soul gems, made with the condensed essence of enemy’s souls consumed by the soul lantern. Gems and Soul Gems will effect you in big and small ways, from adding small amounts of health to allowing you to tame certain felled creatures and beyond.
Socketing has an increasing chance to destroy the gear you’re attempting to augment. Risk vs Reward! the percentages to socket vs failure: 1 socket; 100%%, 2 sockets; 97%, 3 sockets; 93%, 4 sockets 50% and 5 sockets; 25%. With each socketing, you can add another gem or soul gem.
Gems are harvested from gem nodes out in the wild, or as rare drops from enemies. They’re easily recognized in the distance, large crystals in small clusters together, use a pick axe to mine them. You’ll harvest rough gemstones and refine them at the jewel cutting station. If you’re unlucky, the gem will shatter. But don’t throw the broken gems away, with enough broken pieces, you can craft a new gem.
There are 3 tiers of cut gems, each of them is more difficult to acquire than the last, but each is better than the last. Early in your adventures, you’ll be given a gem satchel, a bag specifically designed to hold onto your gems. You can wear it on your back, or carry it in your inventory. Either way, you can fill it with gems of any and all sizes and cuts.


